|
Back
Notes on running the TA Matching program
If you want a longer explanation of this process, you can go here.
- Go to myapps main menu and select the app, TAM: Generate TA Prefs Input File to generate an input file.
- Click on the link to download the input file ("preferences.txt"),
and save it to your desktop.
- Drag the "preferences.txt" input file from your desktop to the
"hospital_residents" folder.
- Double-click on the "run" icon. This will open up the matching
app.
- Click on the "Complete" button. The button will get a bunch of
dotted lines around it.
- When the program is done, the "Complete" button will turn
grey. The "stablematch.txt" output file has been created.
- Close the matching program window by clicking on the "X" in the
upper right.
- Double-click on the "stablematch" text file (not the Excel file)
in your "hospital_residents" folder
- Using your mouse or keyboard, highlight all the rows in the CSV
section at the top (starting with the first quote marks, (""), and
then copy this to your clipboard (click on the "Edit" menu and then
"Copy").
- Click on "File" then "New" to create a new blank document
- Paste the rows into this new document.
- Save the new document as "stablematch.csv" in your
"hospital_residents" folder. Notice that it ends with ".csv", not
".txt". If there was already one there, just replace it (save over
it).
- Close the document
- Going back to your "hospital_residents" folder, double click on
the "stablematch.csv" file you just created (it will look like an
Excel spreadsheet icon)
- Now you have your new data
- Also, back in your "stablematch.txt" text file, there are other
sections of data in there, besides the CSV section. These sections are
titled "prefsA", "prefsB", "prefsC", and "prefsD", and they give you
different reports about the matching which you can use in manually
moving students around after this. To get from one report to the
next, just search (Control-F) for "prefs".
- the most important of these is the first report, "prefsA". look
for the summary table at the end of the prefsA report (just before
prefsB).
- check how many committed and non-comitted students are left over
(unmatched).
- Unmatched Slots? check for any open slots left open (skip back up
in the file: these will appear with "_______________________" lines,
which are blanks where a person can be written in.
- Unmatched TAs? if there are students that are unmatched, yet there
are still open slots, how can this be? usually this is just because
their schedules did not fit these courses.
Setting up a Default TA Job Description for the Entire School
- Click on the myapps instructors' app, Submit My TA Preferences, logging in first if necessary. If the app is not open, ask Dominic to temporarily re-open it for you. (Ideally, you would do this before the matching closes, so that the app will still be open.)
- Step 1
- Look Up By Last Name: (don't touch: leave as is, doesn't matter)
- The course you will be teaching is in which department/program? Social Science
- Step 2
- Click on Option 2 checkbox
- In the Course # box, put 00000 (5 zeros).
- For Course Title, put F14 Social Sciences Standard TA Job Description. Replace F (with W for winter or S for Spring), and the 2-digit year.
- Step 3
- Estimated Enrollment: 90
- Total number of weekly discussion/lab sections scheduled: 1
- Step 4
- Step 6
- Set the hours the way you want. Both the hours and any comments you enter will show up in the "View My TA Job Description (TAJD)" app when the TA looks at it.
- Step 7
- Step 8 (done)
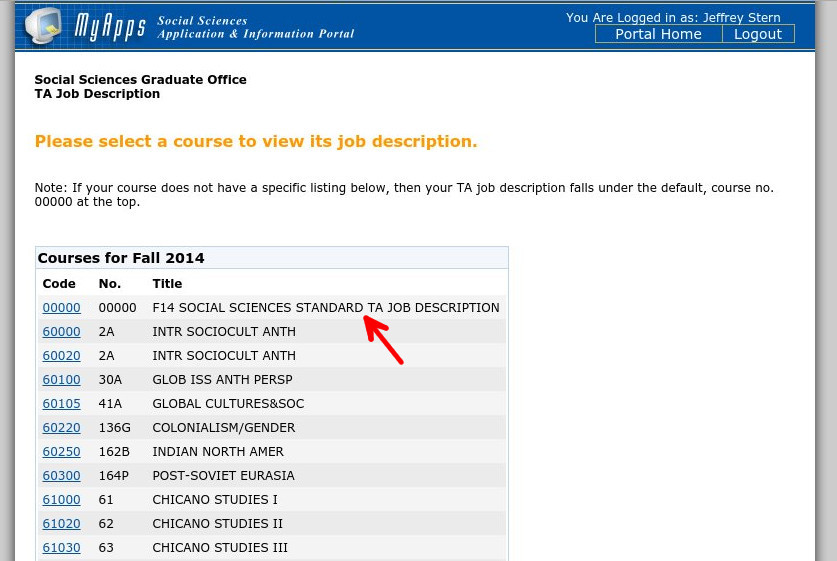
Once you've submitted the app, the 00000 course code should show up at the top of the TA course descriptions list in the View My TA Job Description app for that quarter and year:
Back
|